KeyCloak Docker Version
The following steps are from the official guide:
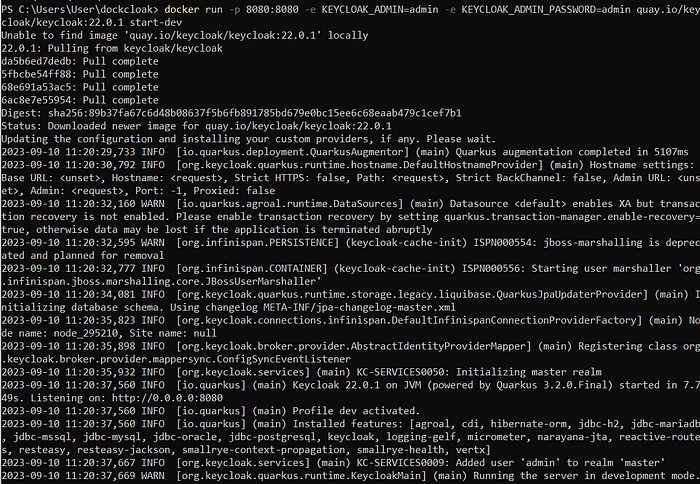
[1] Run docker command in PowerShell Window
docker run -p 8080:8080 -e KEYCLOAK_ADMIN=admin -e KEYCLOAK_ADMIN_PASSWORD=admin quay.io/keycloak/keycloak:22.0.1 start-dev
Output:
Docker Desktop:

[1.1] Make a local copy (optional)
This is an optional step. It is useful when the target system does not have Internet connection (and therefore could not download the image from the online repository).
Run PowerShell command in another window to view the locally created image.
docker images
Output:

Run PowerShell command to create a tar file from the image.
docker save quay.io/keycloak/keycloak:22.0.1 -o keycloak_22_0_1.tar
Outcome:

The image can be loaded back into docker at later time:
docker load -i keycloak_22_0_1.tar
If you haven’t run Step [A.1], do it now:
docker run -p 8080:8080 -e KEYCLOAK_ADMIN=admin -e KEYCLOAK_ADMIN_PASSWORD=admin quay.io/keycloak/keycloak:22.0.1 start-dev
[2] Access the KeyCloak
Click on the link (http://localhost:8080/):
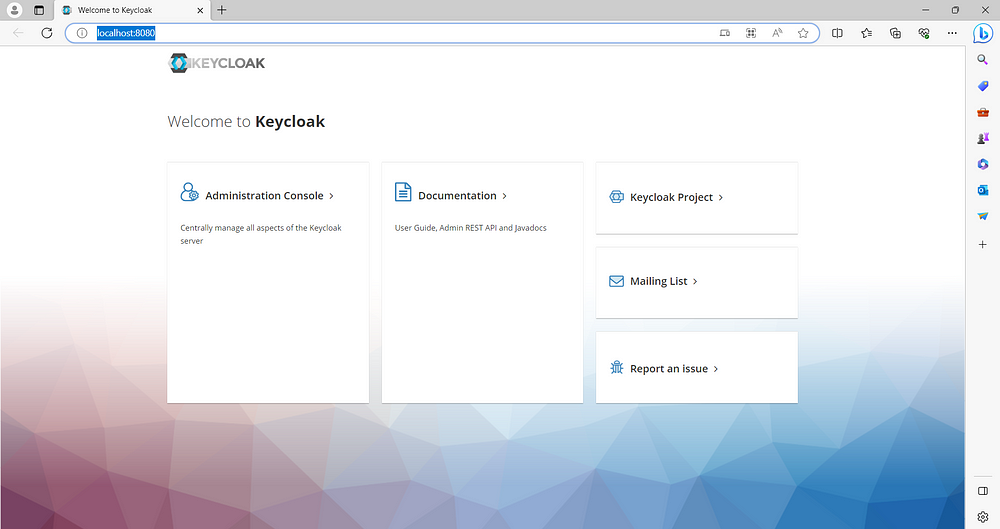
Click Administration Console.
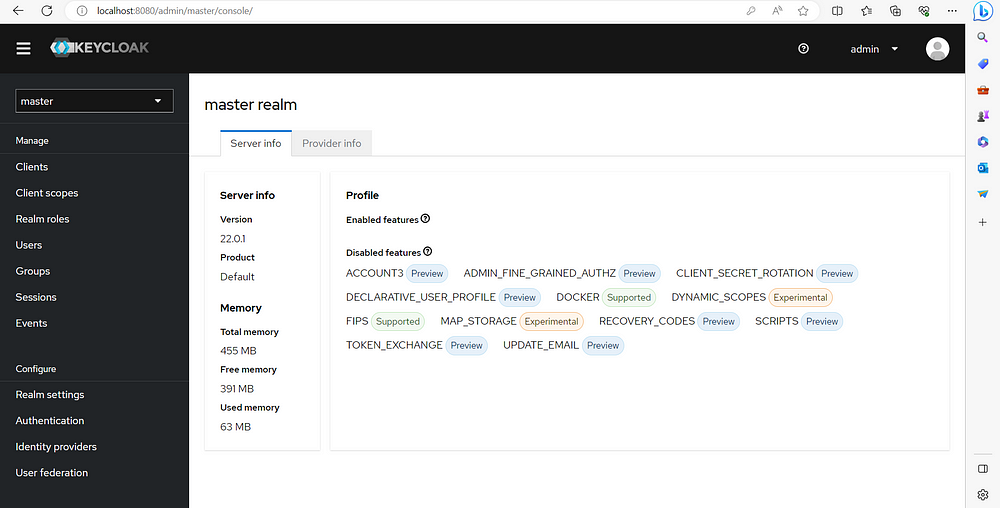
Enter access credential admin/admin.
The KeyCloak dashboard is displayed.
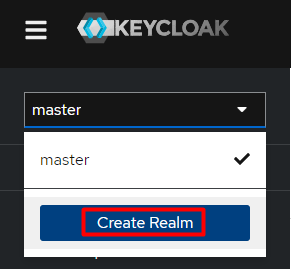
Click the word master in the top-left corner, then click Create realm.
Enter myrealm in the Realm name field.
Click Create.
[*] What is realms?
Realm is the first KeyCloak-related term that you see in the above steps.
Cambridge Dictionary defines Realm as “an area of interest or activity”.
A realm manages a set of users, credentials, roles, and groups.
A user belongs to and logs into a realm.
Realms are isolated from one another and can only manage and authenticate the users that they control.
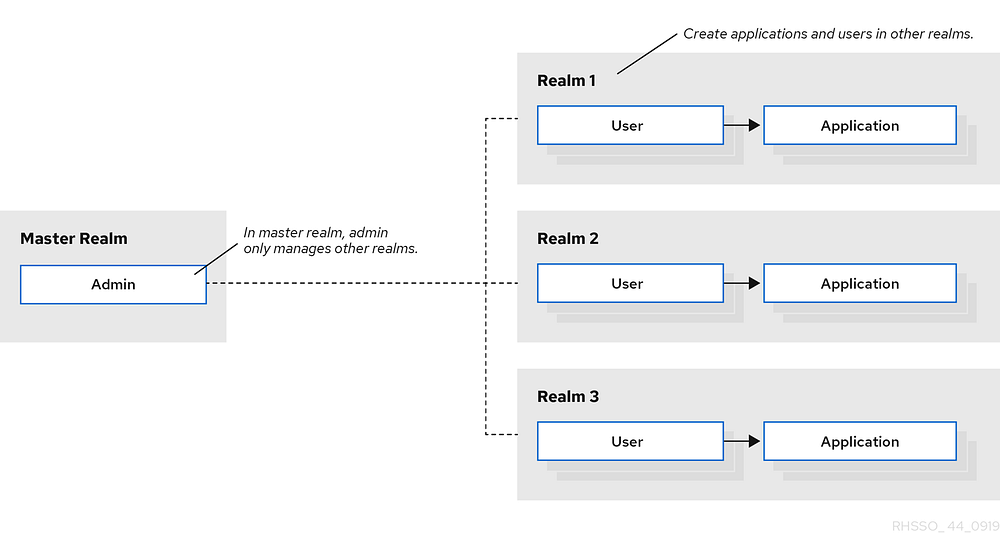
https://www.keycloak.org/docs/latest/server_admin/ (Version 22.0.2)
.
