Creating Local KeyCloak Test Server
Mohamad's interest is in Programming (Mobile, Web, Database and Machine Learning). He is studying at the Center For Artificial Intelligence Technology (CAIT), Universiti Kebangsaan Malaysia (UKM).
[1] Clone the Git Repository
Prepare a base directory.
cd ~
mkdir dockerkeycloaktest
cd dockerkeycloaktest
Git Clone.
git clone https://github.com/mohamadrazzimy/localkeycloaktest.git
The codes in the github repo https://github.com/mohamadrazzimy/localkeycloaktest is actually a local copy of the KeyCloak test page at https://www.keycloak.org/app/.
[2] Build Docker Image
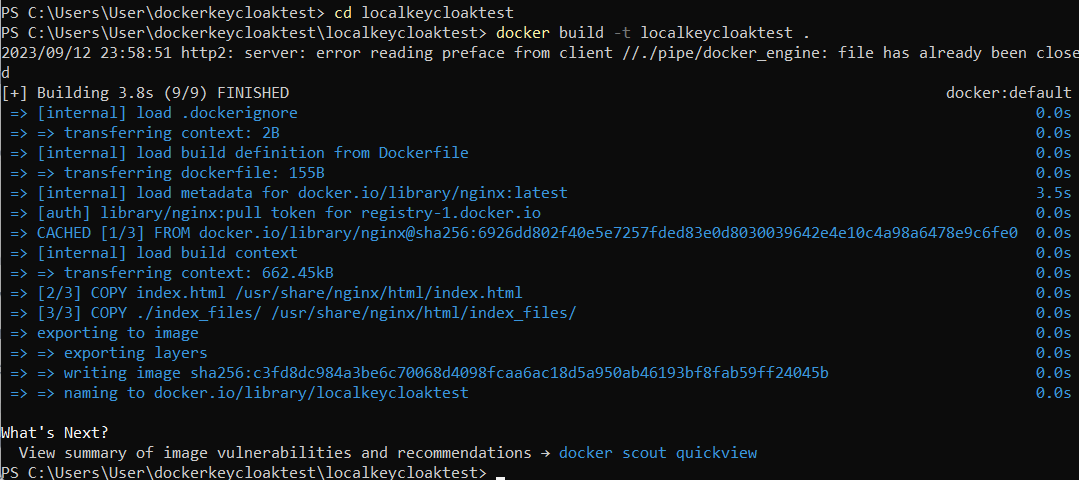
cd localkeycloaktest

docker build -t localkeycloaktest .
Example:
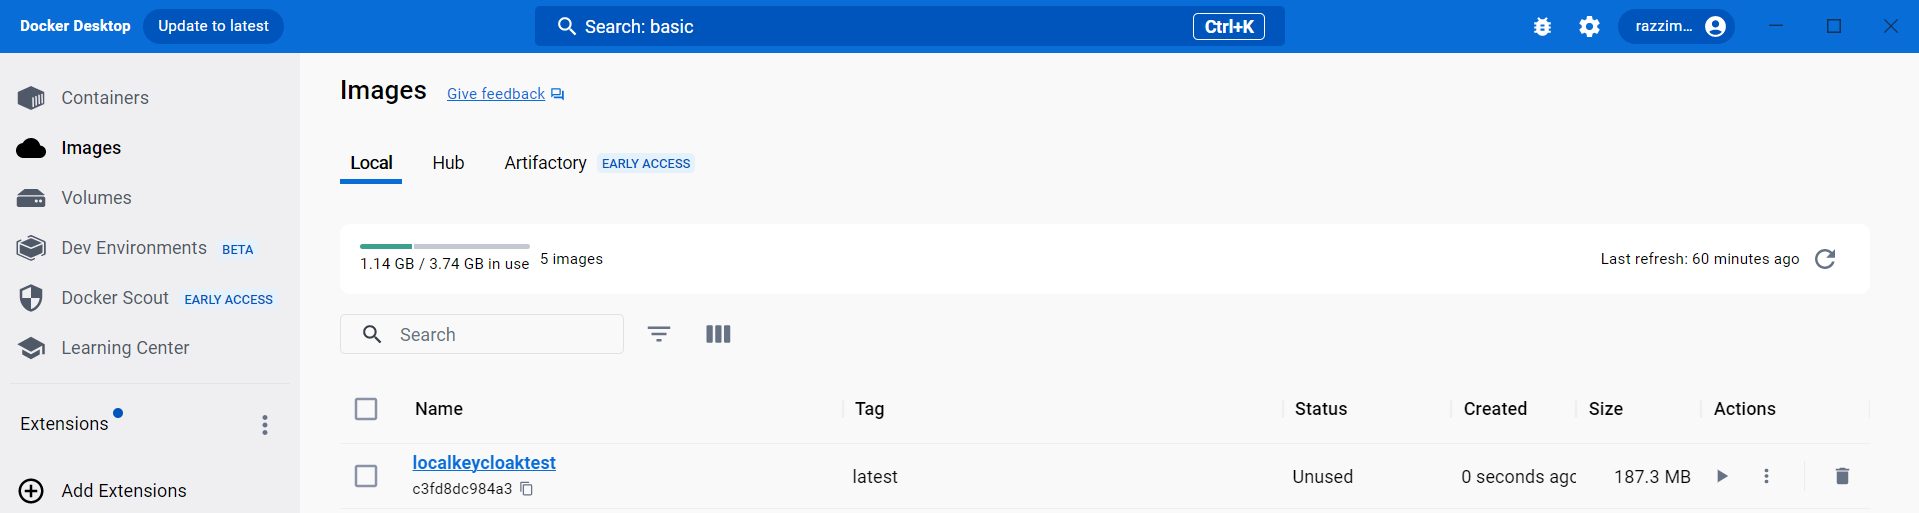
Check that the image is listed in the Docker Desktop:
[3] Create and run a container from the image
Run a docker command to create a container with an interactive console (-it) that will be removed when it is terminated (--rm) which is mapped as port 88 (in host) to port 80 (in container) from the image name "localkeycloaktest".
docker run -it --rm -p 88:80 localkeycloaktest
Check that a container has been created:

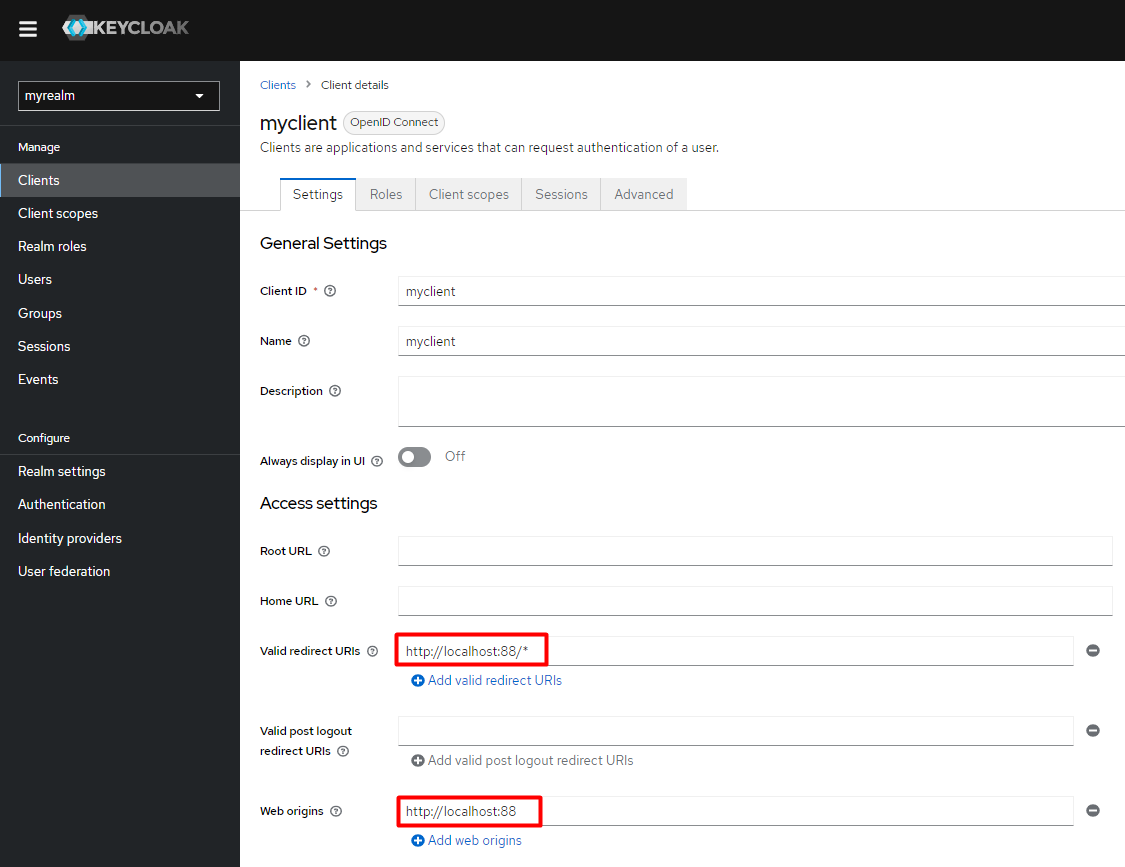
[4] Configure KeyCloak Server
Assuming that you have already created myrealm, myclient and myuser according to the steps in the previous posts, configure the following settings:
Redirect URI :
http://localhost:88/*Web Origin:
http://localhost:88
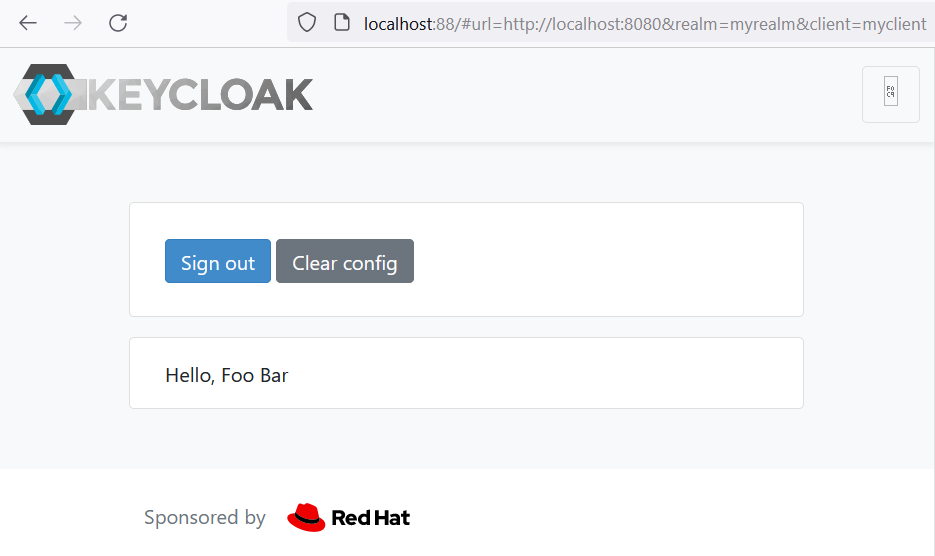
[5] Browse the LocalKeyCloakTest server page
(http://localhost:88)

Click the Save button.
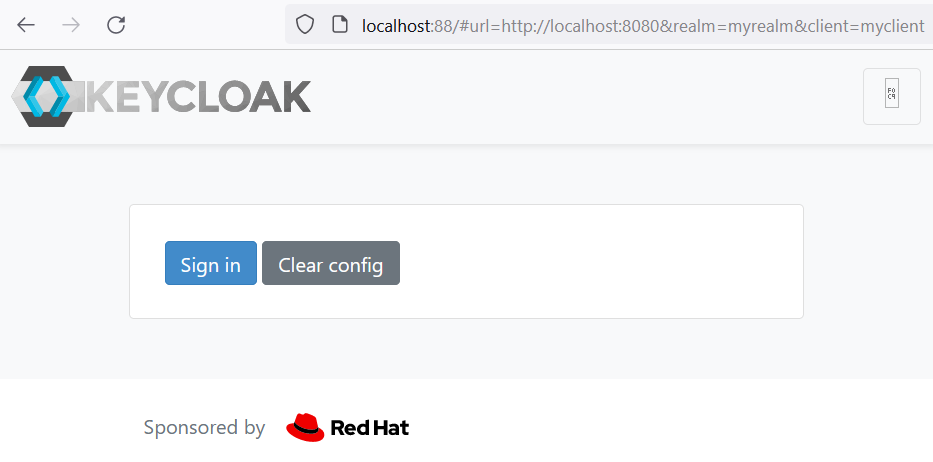
Click Sign in.
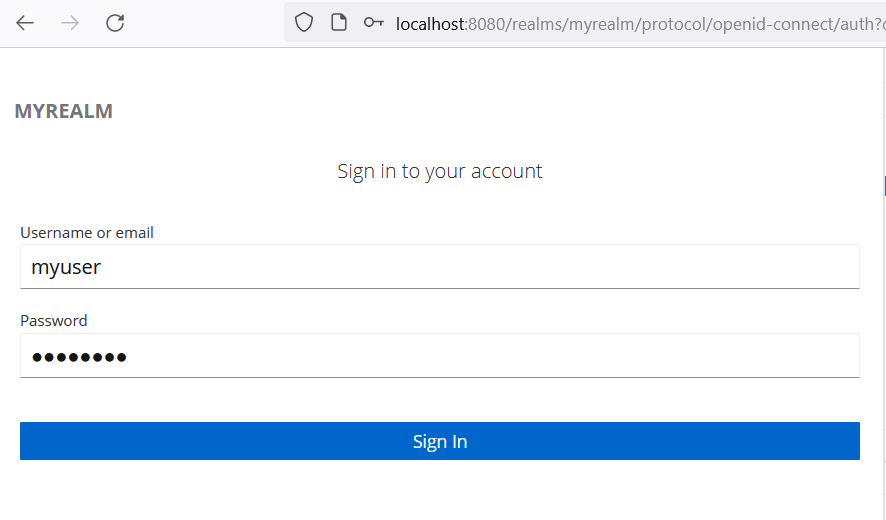
Enter the credential myuser/Abcd1234
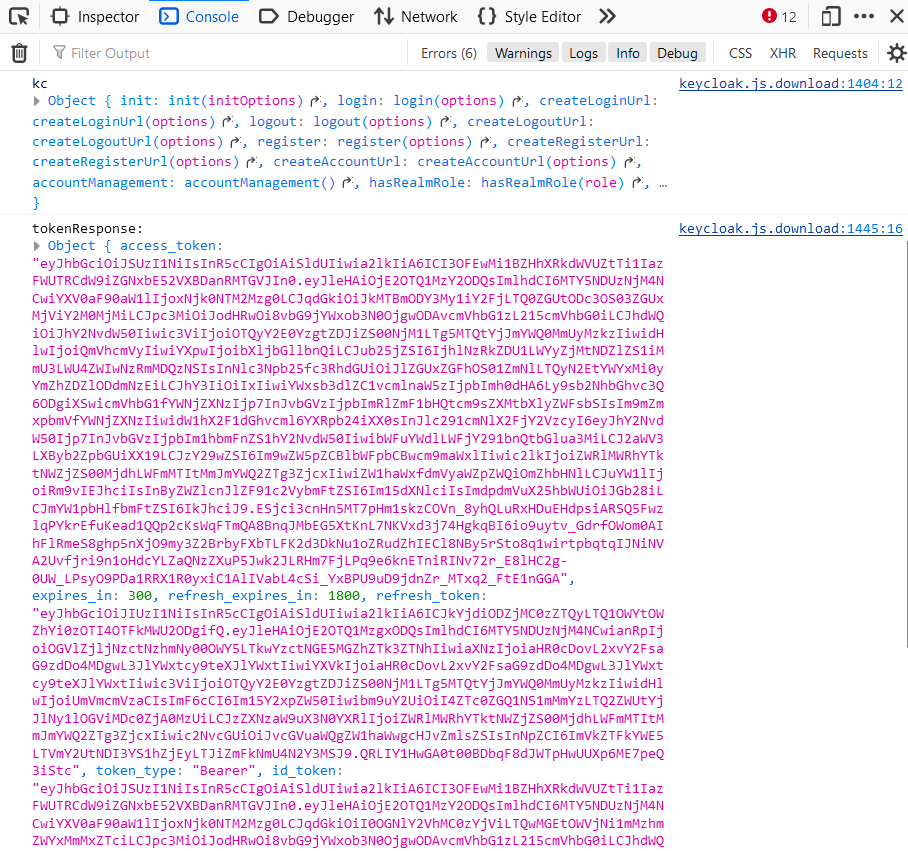
Open the Web Inspector panel and view the token data.
Click sign out.
[6] Terminate container session.
In the PowerShell console for the interactive container (in step 3), press [CTRL]+[C] to break and terminate the container session.
Once it is terminated, the container name will disappear from the container list in the Docker Desktop.