[1] Concepts and terms
[1.1] users
Users are entities that are able to log into your system. They can have attributes associated with themselves like email, username, address, phone number, and birthday. They can be assigned group membership and have specific roles assigned to them.
[1.2] authentication
The process of identifying and validating a user.
[1.3] authorization
The process of granting access to a user.
[1.4] credentials
Credentials are pieces of data that Keycloak uses to verify the identity of a user. Some examples are passwords, one-time-passwords, digital certificates, or even fingerprints.
[1.5] roles
Roles identify a type or category of user. Admin, user, manager, and employee are all typical roles that may exist in an organization. Applications often assign access and permissions to specific roles rather than individual users as dealing with users can be too fine-grained and hard to manage.
[2] Try It Out
Continue from the previous post.
[2.1] Add User
In the left panel, click Users.
In the main panel click Add user.

[2.2] Enter basic user details
Enter:
Name: myuser
First Name: Foo
Last Name: Bar
Click Create button.

[2.3] Set User Password
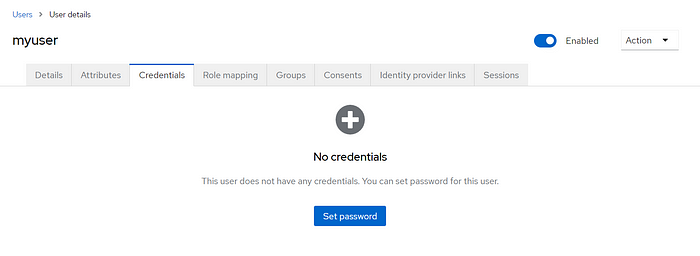
Click Credentials tab.
Click Set password button.

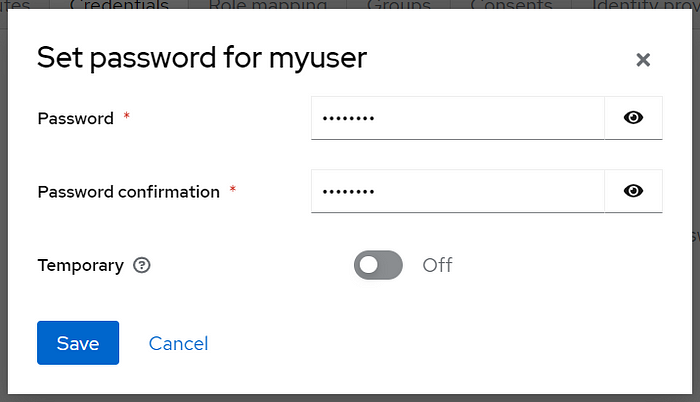
Set the password e.g. Abcd1234
Toggle off the Temporary field.
Click Save button.

Confirm the Set Password process.

The password has been successfully saved.

[2.4]Try signing in
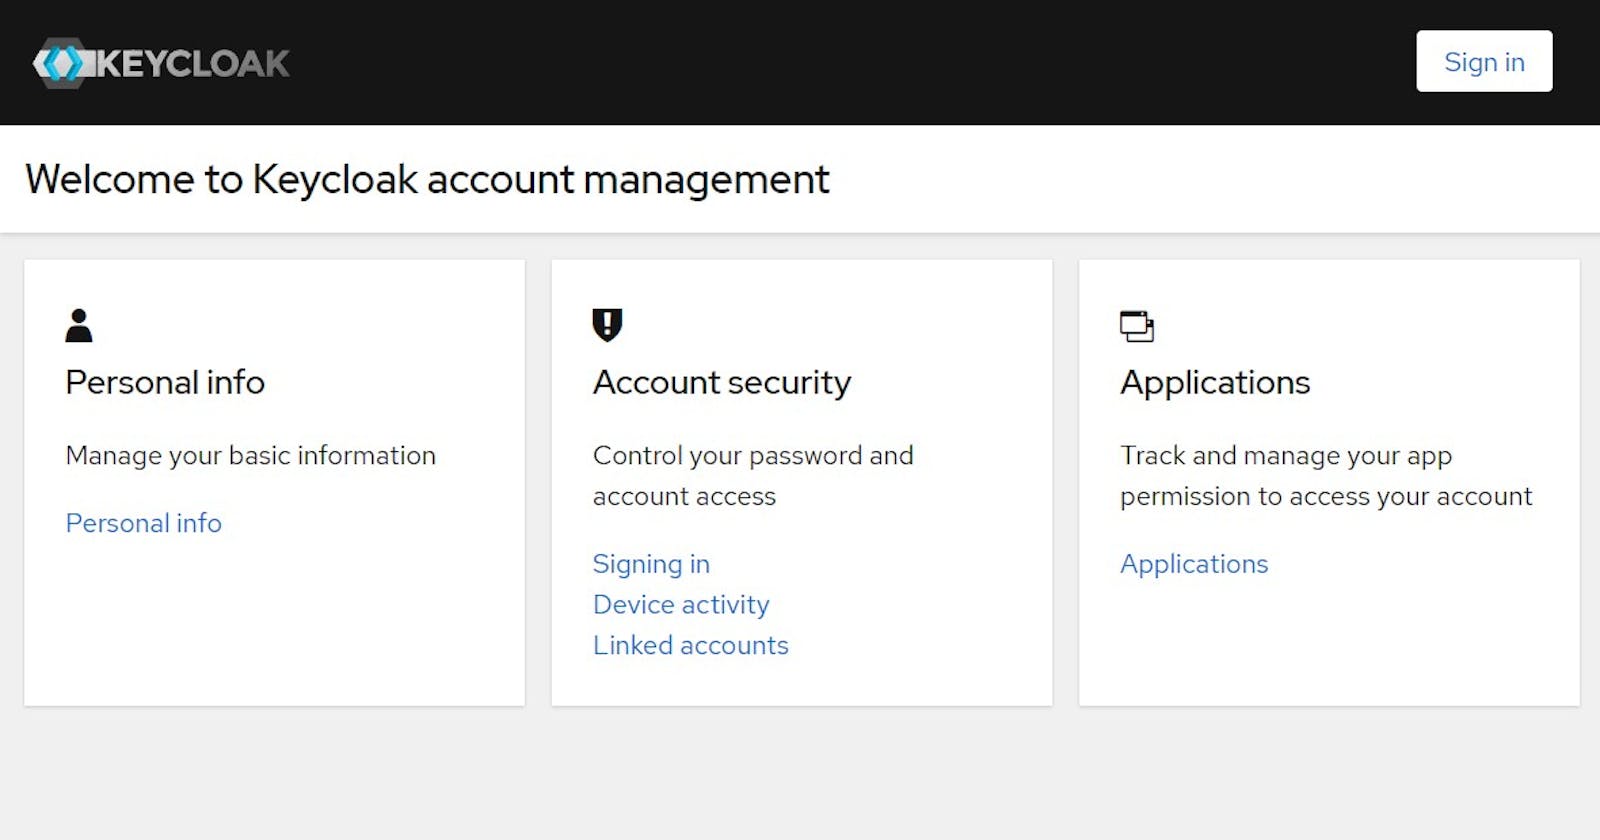
https://app.please-open.it/auth/realms/xxxxxxxx-xxxx-xxxx-xxxx-xxxxxxxxxxxx/account/
(replace xxxxxxxx-xxxx-xxxx-xxxx-xxxxxxxxxxxx with your own realm id)

Ref:
